Have you ever wondered how streetlights know when to turn on at night and off during the day? Or how a smartphone adjusts its screen brightness automatically? The answer lies in a simple but powerful component, the light sensor.
In this post, we’ll explore how to use a light sensor with an Arduino board, how it works, and some cool project ideas you can try.
What is a Light Sensor?
A light sensor (often called a photoresistor or LDR – Light Dependent Resistor) is a special resistor that changes its resistance depending on the amount of light falling on it:
By connecting this sensor to an Arduino, we can measure the amount of light in an environment and use it to control other devices like LEDs, motors, or relays.
Components You’ll Need
To follow along, you’ll need:
-
Arduino board (Uno, Nano, etc.)
-
Light-dependent resistor (LDR)
-
10kΩ resistor
-
Breadboard and jumper wires
-
LED
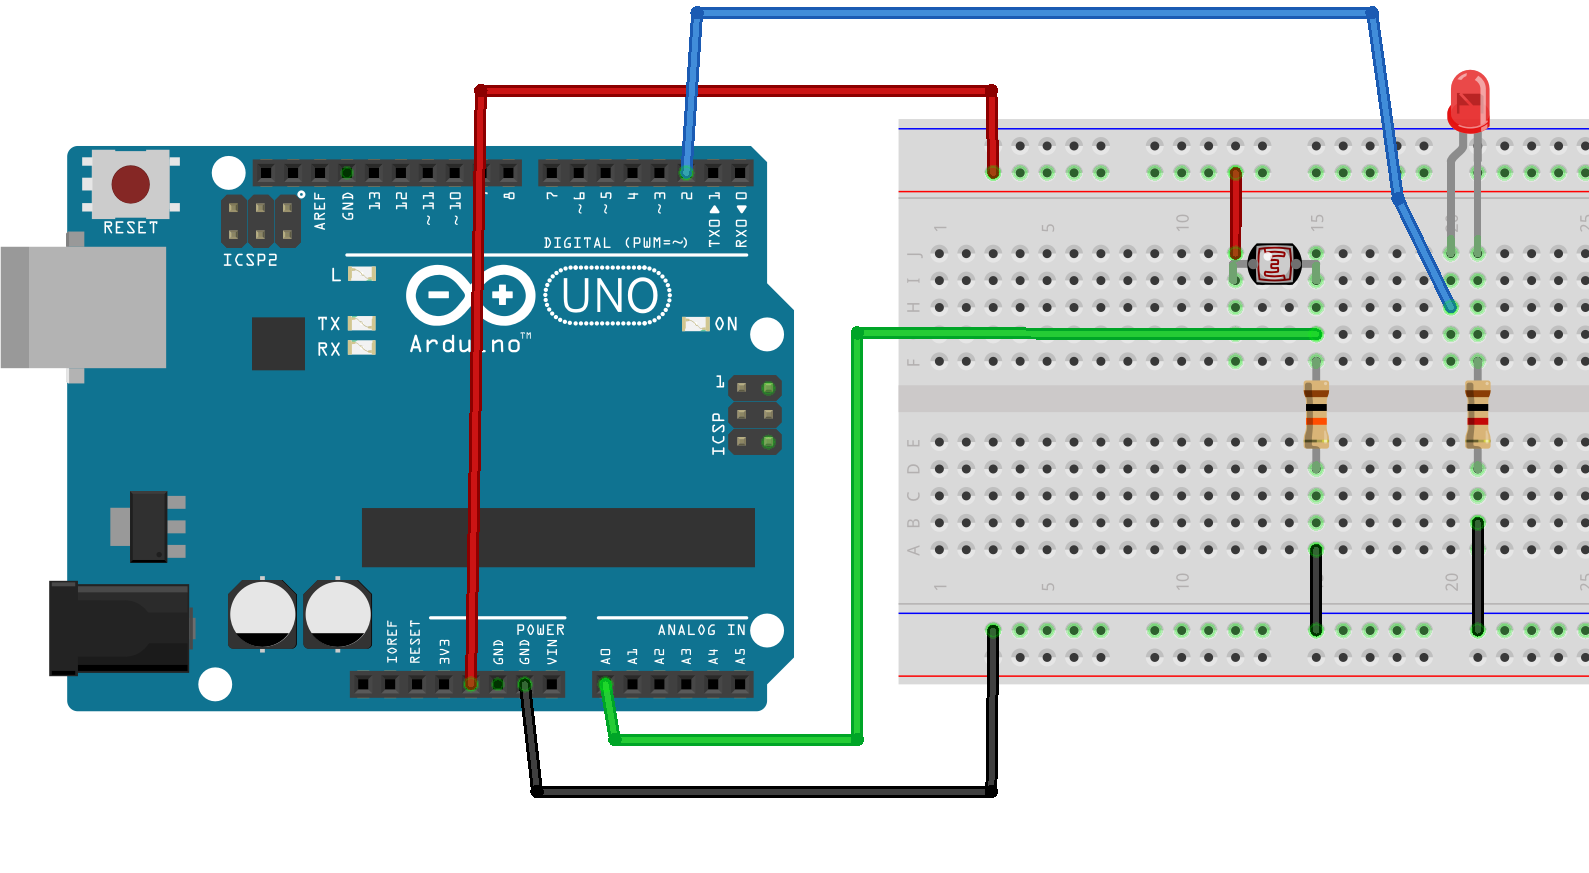
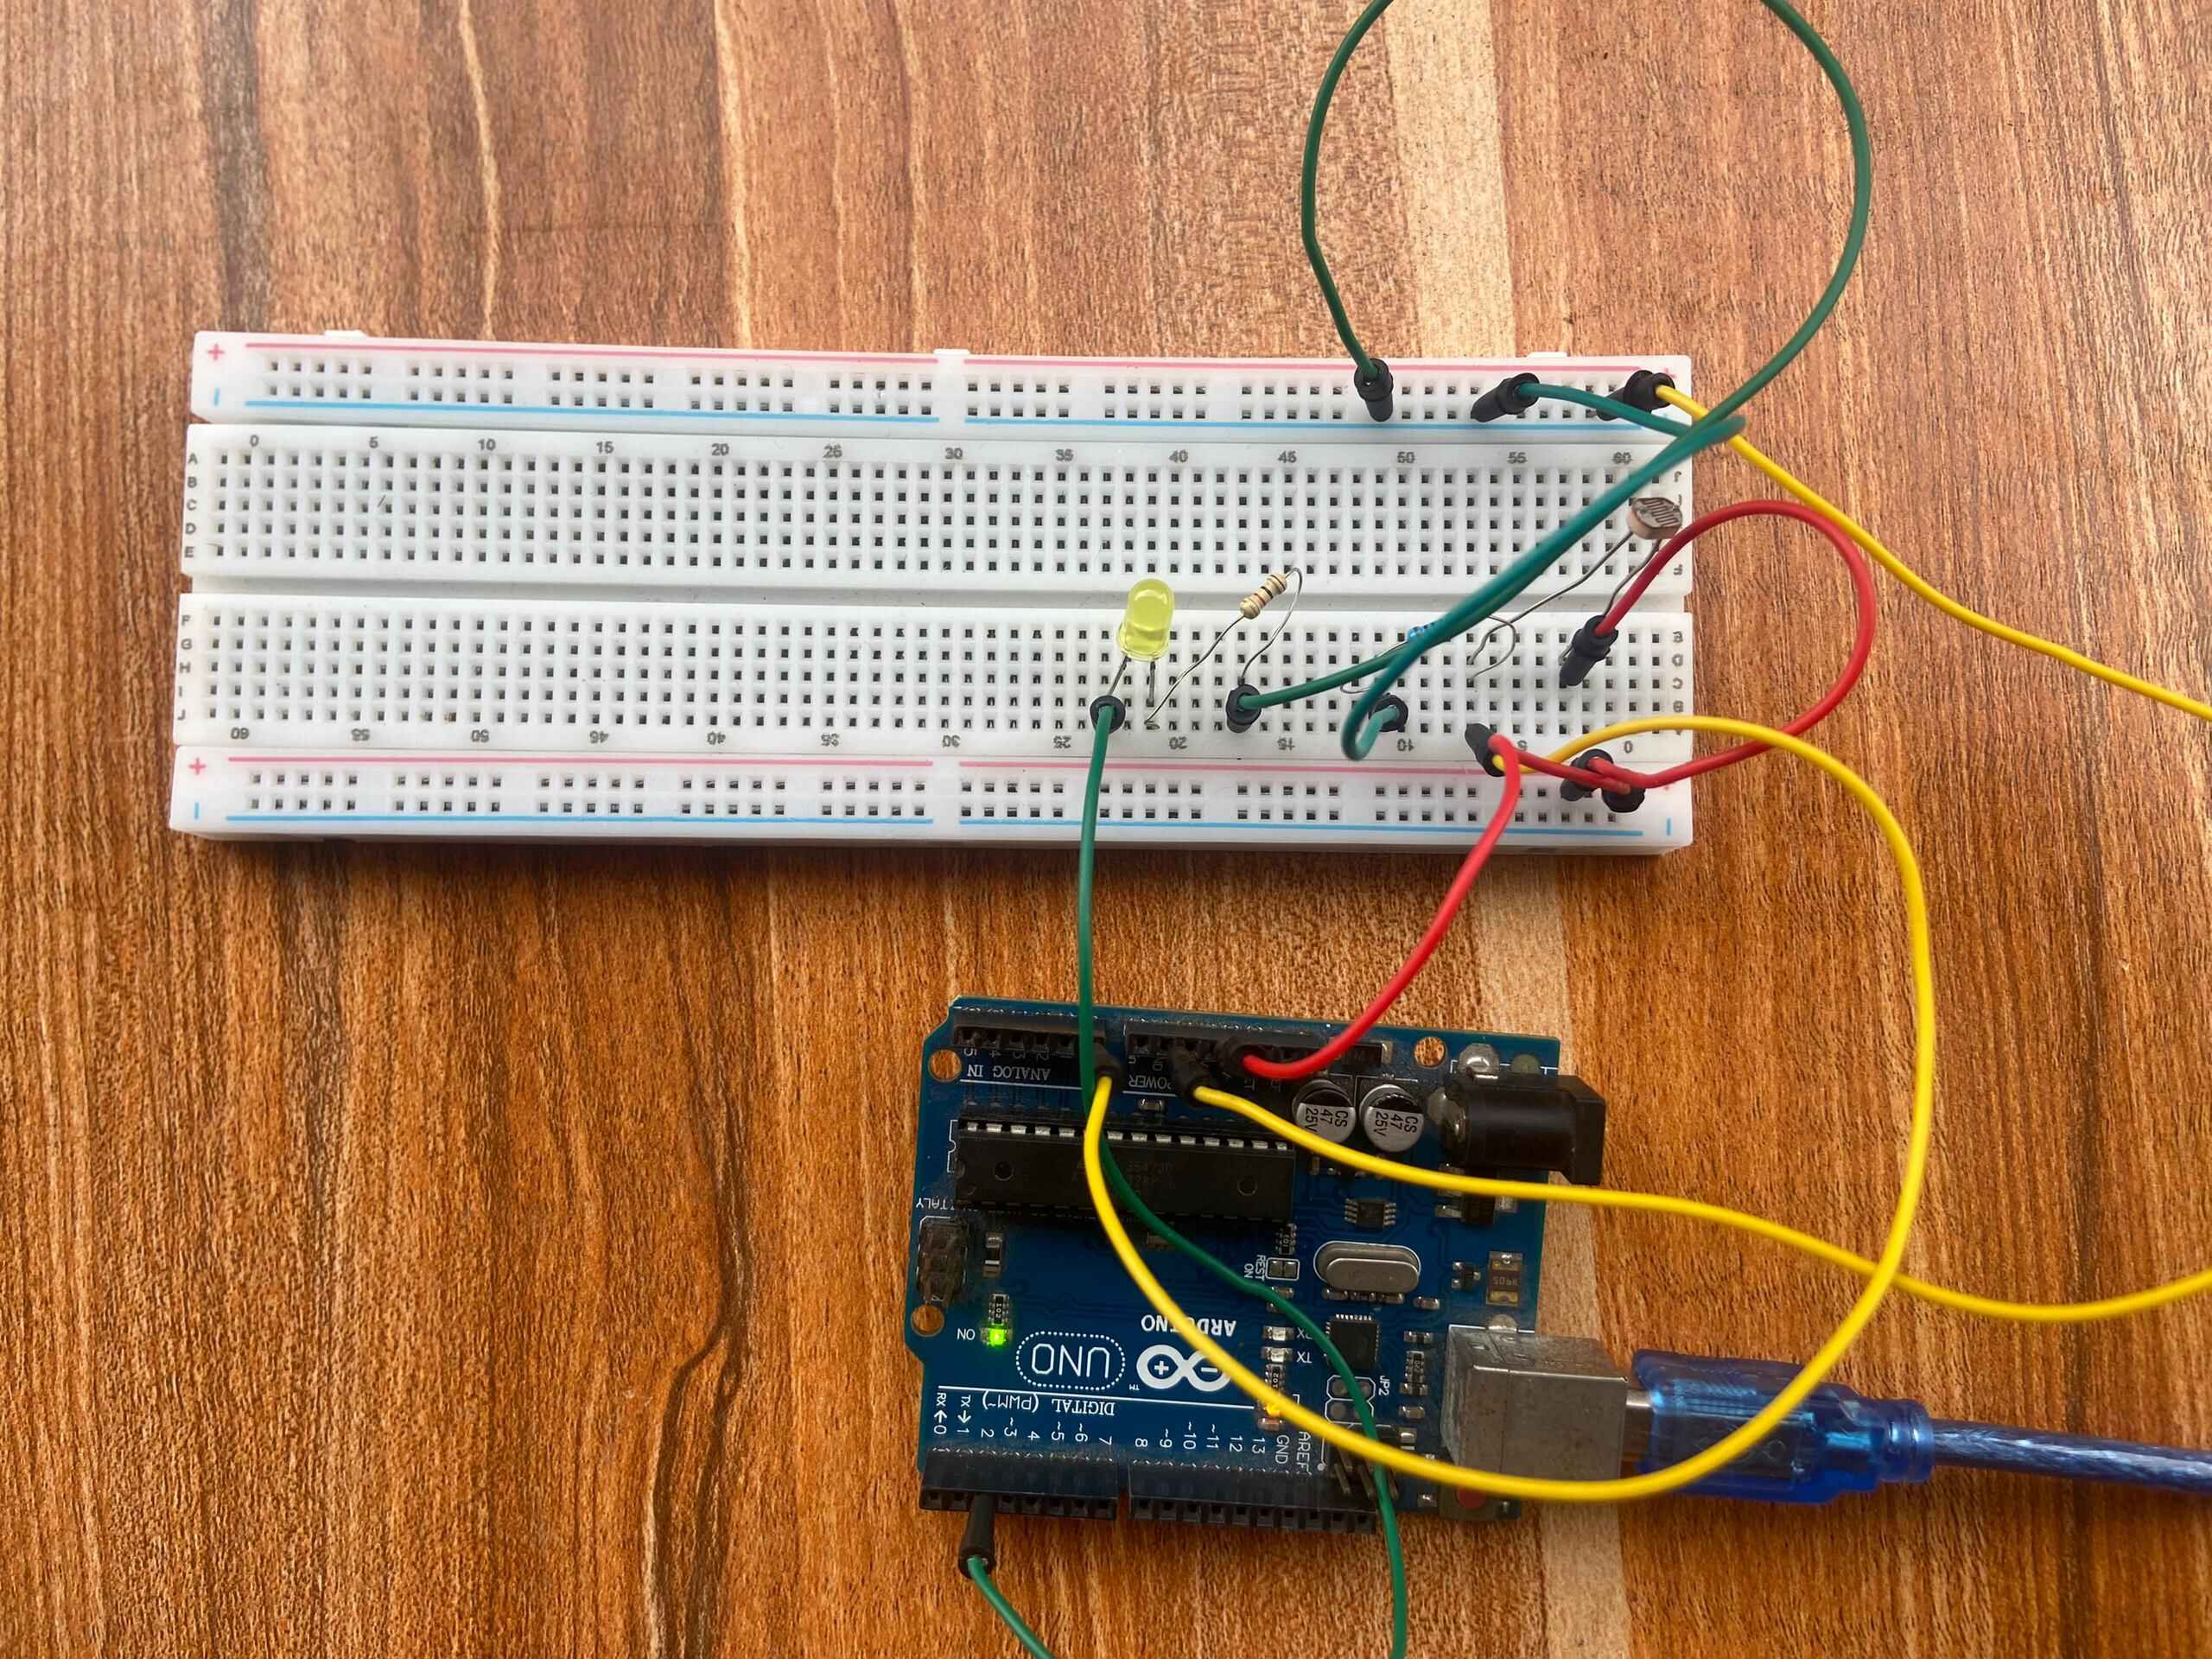
Circuit Connection
-
Connect one leg of the LDR to 5V.
-
Connect the other leg of the LDR to A0 (analog input pin) and also to one end of the 10kΩ resistor.
-
Connect the other end of the resistor to GND.
-
Connect an LED to pin 2 through a 1kΩ resistor for testing.
This creates a voltage divider so the Arduino can read the changing resistance of the LDR as light intensity changes.